This was easily one of the most fun and chaotic builds I have ever done, and also one of the most surprising when it came to how it performed online. When I first made this, I genuinely thought it was one of the coolest, most creative things I had ever put together. I was so excited to share it. I posted the video, waited for the reaction, and it completely flopped. At the time, I did not understand why. Looking back now, it is actually one of the most frequently saved videos I have across platforms, which means people were quietly bookmarking it instead of engaging with it publicly. That alone changed how I view “success” on content.
The Idea
I wanted to create a mushroom umbrella that felt whimsical, slightly fantasy-inspired, and practical enough to actually use. When I searched online, I noticed there were very few tutorials that matched what I had in mind. There were some screen-printed options and a few advanced builds, but nothing that felt approachable in the way I wanted. So instead of just making it, I decided to document the process and create a tutorial in my own style.
Filming Challenges
This was also during a time when I did not realize my phone was auto-adjusting exposure constantly. Because I had white blinds in my space, the footage kept shifting darker, which affected the overall quality of the video. This is actually what led me to eventually switch to darker curtains in my workspace. Even though the footage was not perfect, I still kept the video up because the information itself was valuable.
Choosing the Right Umbrella
The base umbrella matters more than people think. I specifically chose a red umbrella, but the key detail was the number of spokes.
- Fewer spokes create visible angles
- Six spokes can look hexagonal
- Eight spokes can still look slightly geometric
- More spokes create a smoother, rounder shape
The more spokes the umbrella has, the closer it appears to a true mushroom cap.
Painting the Mushroom Top
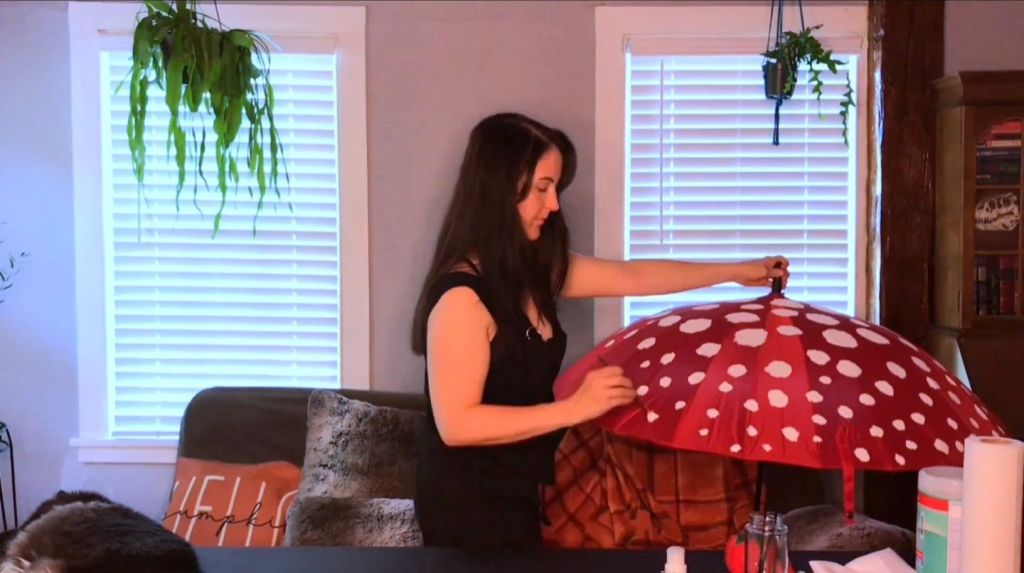
The first step was painting the white spots. I used acrylic paint because it adheres well without damaging the umbrella material. Other methods exist, but many of them risk breaking down the fabric over time. This step takes patience. You also want to:
- Rest the umbrella on a surface instead of holding it
- Work in layers for solid coverage
- Wear an apron to avoid accidental smudging
This is one of those steps that feels simple but takes time to do cleanly.
Future Paint Testing
Since making this, I have received many suggestions for alternative methods. Instead of guessing which one’s work, I plan to test multiple options on a separate umbrella. This includes different paints and application techniques. The goal is to document exactly how each method behaves over time, rather than relying on assumptions.
Underside Fabric Build
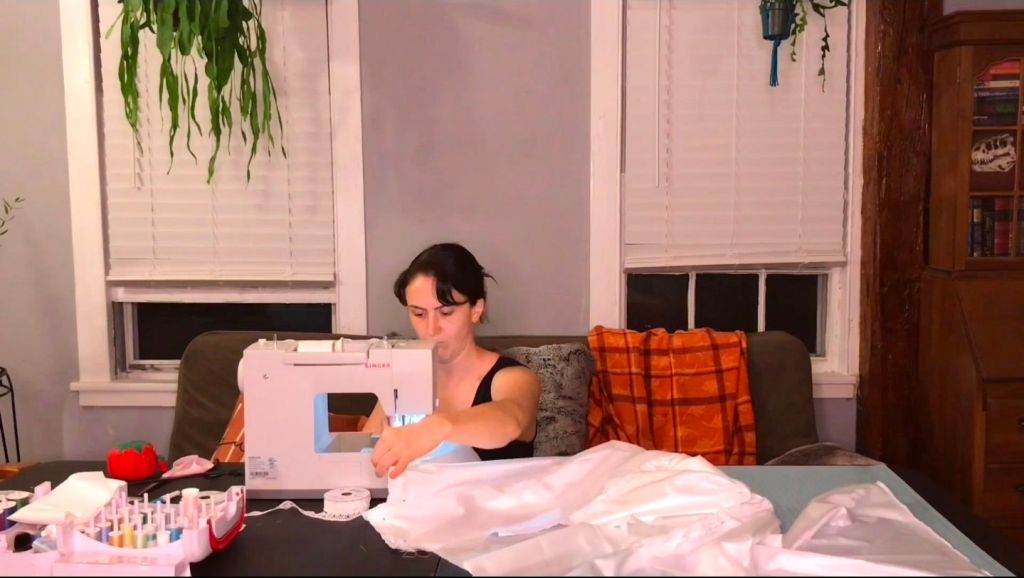
The underside of the umbrella was made using a thin satin-like fabric. I do not like wasting material, so instead of cutting one large piece, I calculated how to create panels that could be sewn together efficiently. Because the fabric gathers tightly when attached, the seams are not visible once installed. This approach allowed me to use smaller pieces without compromising the final look.
Sewing the Umbrella
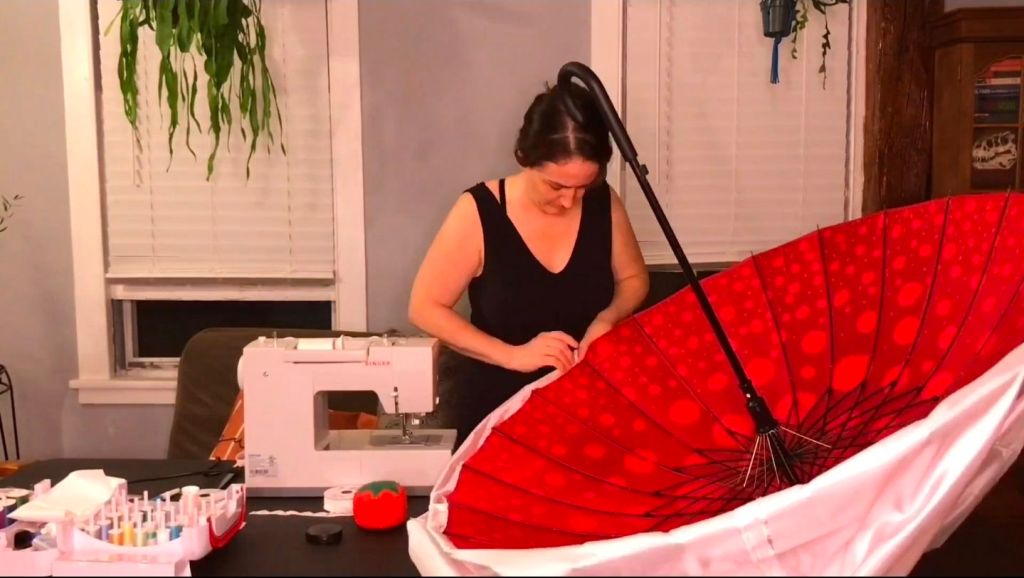
This is where the build became more advanced. I actually ran the umbrella through a sewing machine. To do this safely:
- Sew slowly
- Stop before each metal rib
- Lift the needle and reposition
- Lower the needle and continue
You never want to sew through the metal spokes. That will break the needle, and broken needles can be dangerous. This part required patience, but it created a much cleaner and more secure finish.
Center Gathering Technique
Once the fabric was attached, I used wax linen thread to gather it toward the center. This helped create that organic, slightly puckered mushroom underside look. The thread was secured as high as possible inside the umbrella so that the structure stayed intact.
Adding Lace Trim
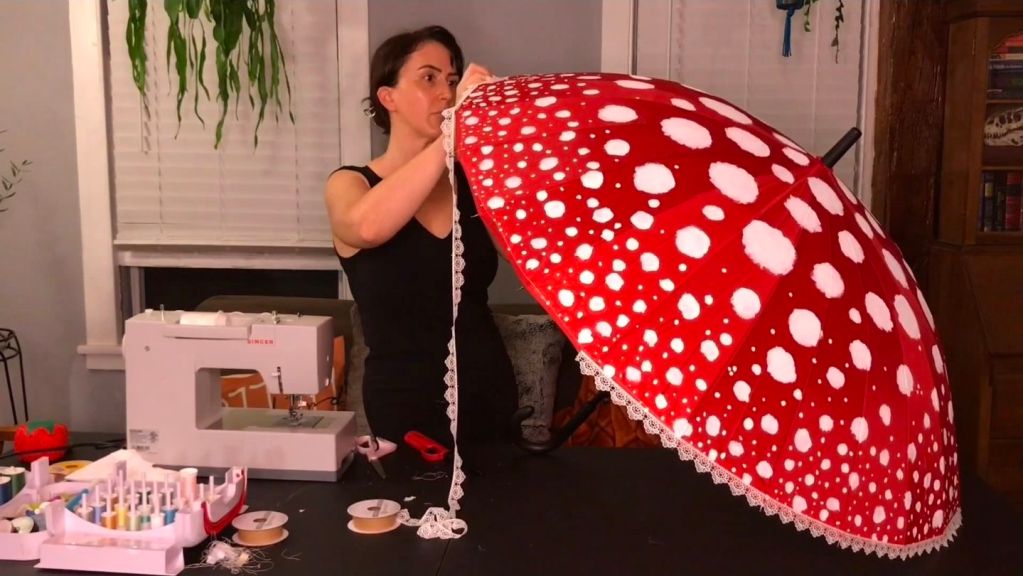
For the finishing detail, I added lace around the edge. This required a bit of planning because I had to calculate the full circumference of the umbrella to ensure I had enough material. Rather than sewing it entirely by machine, I hand-stitched sections of it in place. It did not need to be perfectly uniform, which actually worked in its favor visually.
Renaissance Fair Experience
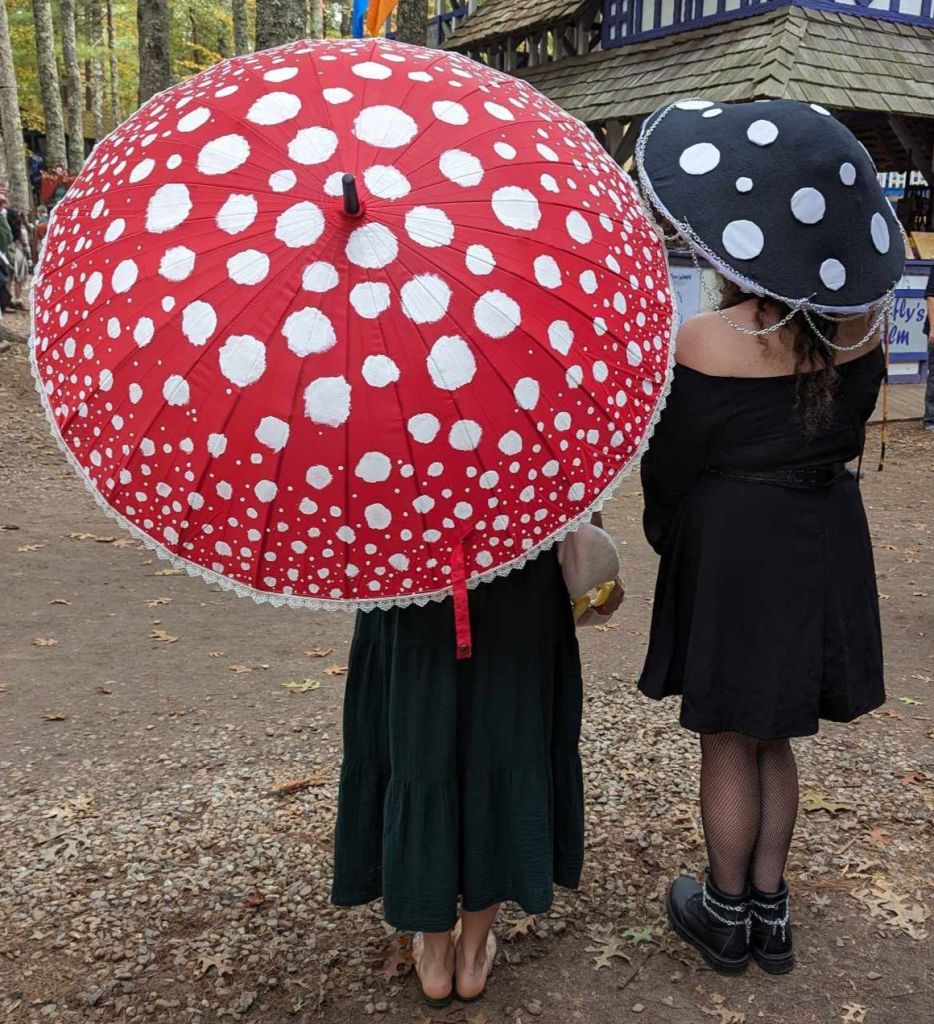
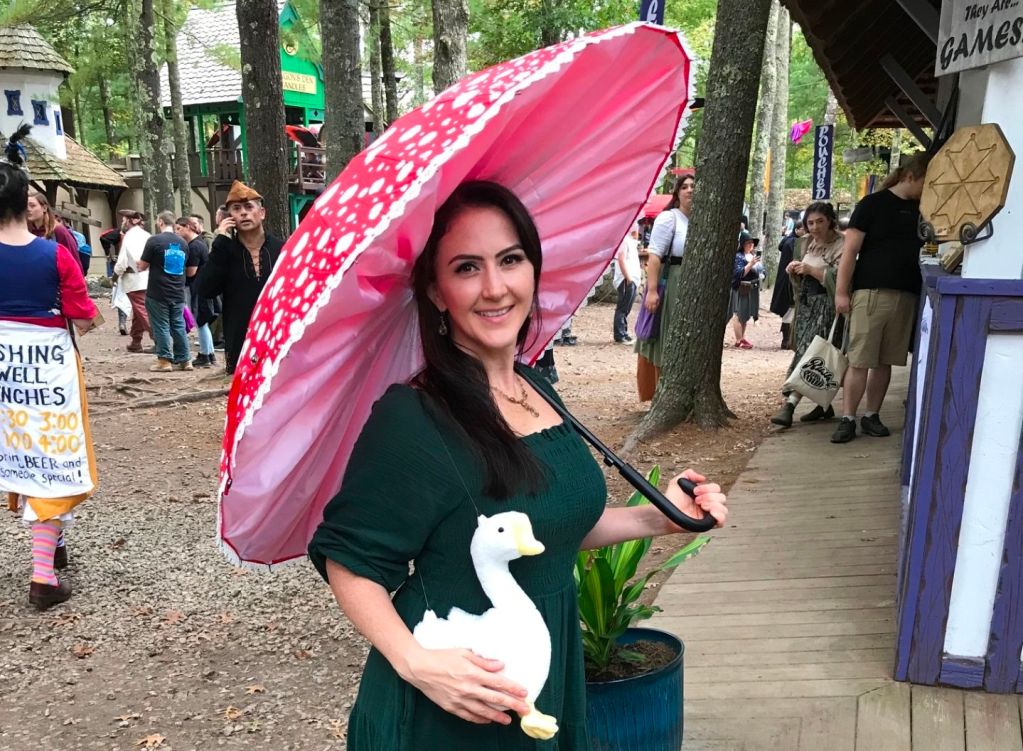
When I wore this to a Renaissance fair, it became an instant conversation piece. I met another girl who created her own version using moss and more advanced sealing techniques. It was so creative, and I loved seeing a different interpretation. We took photos together, and it felt like one of those rare moments where you connect with someone over a very specific creative idea.
Community Moments
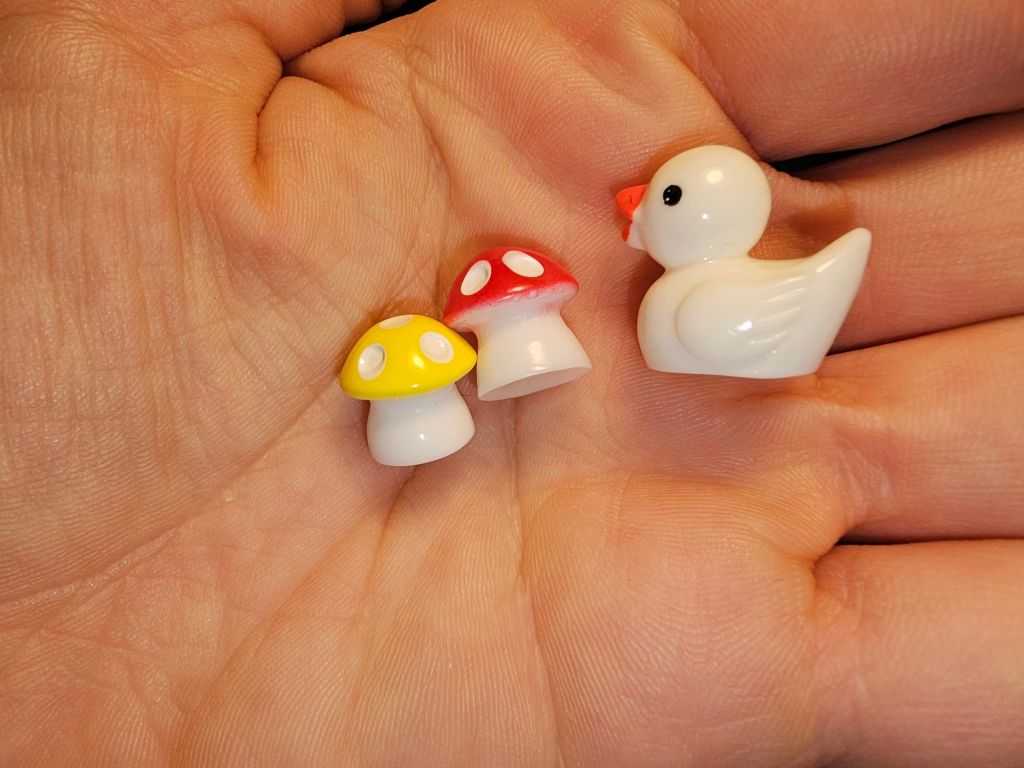
Throughout the day, people gave me small mushroom-themed trinkets, which made the experience even more special. I also carried my goose purse, Frederick Goosington III, which added another layer of personality to the outfit. I slightly modified the inside so it would hold my belongings better, but otherwise it remained true to its original form.
What I Would Change
This is one of the few builds where I fully plan to do an upgraded version. Next time, I want to:
- Test multiple paint methods
- Explore sealing techniques
- Avoid using underside fabric
- Try new structural ideas
I already have a few concepts in mind, including one that I am intentionally not writing out yet until I test it.
Current Condition
The umbrella is currently in storage. Over time, like most handmade pieces, it has experienced some wear. When I revisit it, I plan to document its condition and compare it to the upgraded version.
Final Thoughts
This project is a perfect example of how something can feel like a “failure” at first but still have long-term value. It pushed me creatively, taught me new techniques, and ended up becoming one of the most saved pieces of content I have ever made. Sometimes the impact just takes time.